Quick start
This page describes a quick start for the infra-CONVERT software. The full range of functions is explained in the corresponding chapters. This quick start guide assumes Installation of the software is complete and the programme is running.
You can view the quick start at the following Youtube or download it from our Webseite.
Open drawing
- Click on “Open drawing” the Drawing menu (see ⇒ Menu: Open drawing).
Or:
- Click on the “Open” icon (see ⇒ Icons: Open).
A new window opens:
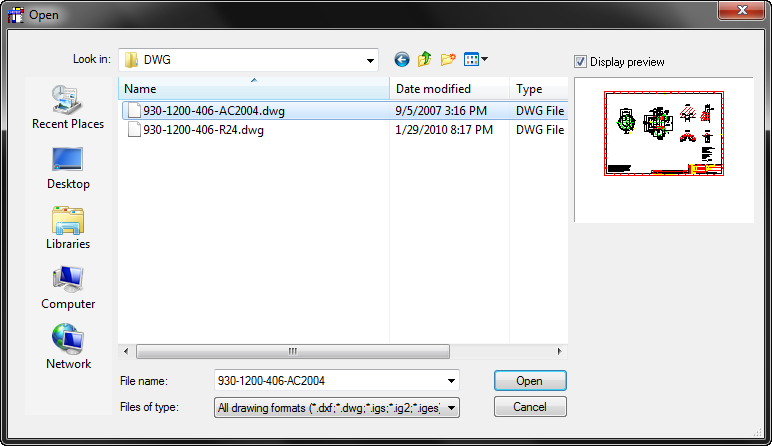
Select the drawing from which you want to create a quality control plan (QCP; see ⇒ Supported drawing formats).
Once loaded, the drawing appears in a window.
The first start...
Select the general tolerances for your drawing:
- Click on “Define general tolerances” (see ⇒ Extras: Define general tolerances).
Or:
- Click on the “Define general tolerances” icon (see ⇒ Define general tolerances).
A new window opens:
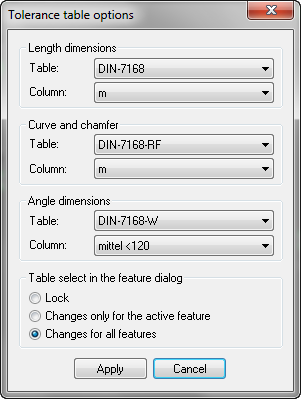
Set the general tolerances for your drawing. These settings apply to all subsequent drawings in infra-CONVERT, although they can easily be reset if required.
Control
You can move around your drawing either using the mouse or with the aid of icons (see ⇒ Control). At this point only the most important mouse control options are explained:
- Left mouse button: Selecting features.
- Middle mouse button: Press and hold down to move the drawing.
- Mouse scroll wheel: Scroll to set the zoom function.
- Right mouse button: Activate the Context menu (see ⇒ Context menu).
Stamp drawing
Make sure the “Select” icon is active (see ⇒ Icons: Select). There are different ways to stamp the drawing:
Stamp individual features
- Left-click on the dimension.
A window appears:
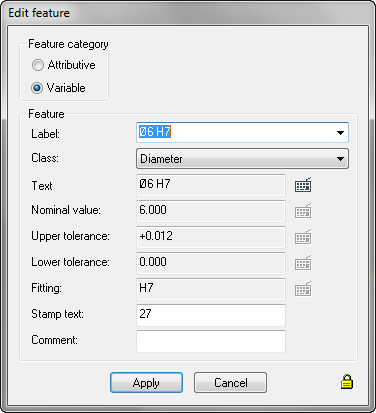
Numerous properties for the feature can be set in this window (see ⇒ Functions: Create feature). The general tolerances defined here form a template. Click “Apply” to set the stamps and include the feature in the table.
Stamp feature in an area
- Click on “Select area” in the Features menu or press the “m” key (see ⇒ Select area).
Alternative:
- Click the “Area” icon to draw a frame around the dimension you want to stamp (see ⇒ Icons: Select area).
Stamp all features in a drawing
- Click in “Search all features” (see ⇒ Select: Search all features).
Alternative:
- Click on the “Select all features” to stamp all the drawing dimensions and enter them in the Feature table (see ⇒ Icons:Select all features).
Position stamp
To position stamps on your drawing, click the “Move stamp” icon (see ⇒ Icons: Reposition stamps). Left-click on the stamp you want to move and, holding down the left mouse button, drag it to where you want on the drawing, then park it with a final left-click. Other options for moving and positioning stamps are explained under Reposition and rotate stamps. The appearance and behaviour of the stamp can be set in Options.
Feature table
You can display the Feature table via its icon Feature table or Extras: Display Feature table... ".
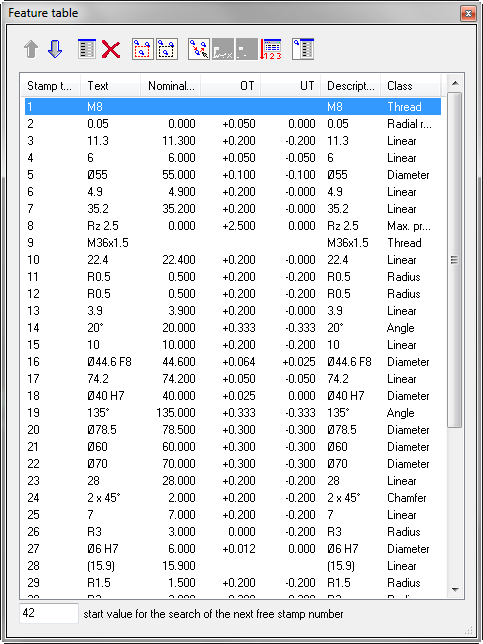
The window overlays the desktop but can be easily closed if necessary. The table offers an extensive range of options for sorting features and displaying additional information. More information can be found at Feature table.
Save quality control plan
- Click Drawing / Save quality control plan in (Menu: Save quality control plan).
Or:
- Click the “Save quality control plan” icon (see ⇒ Icons: Save quality control plan).
A new window appears:
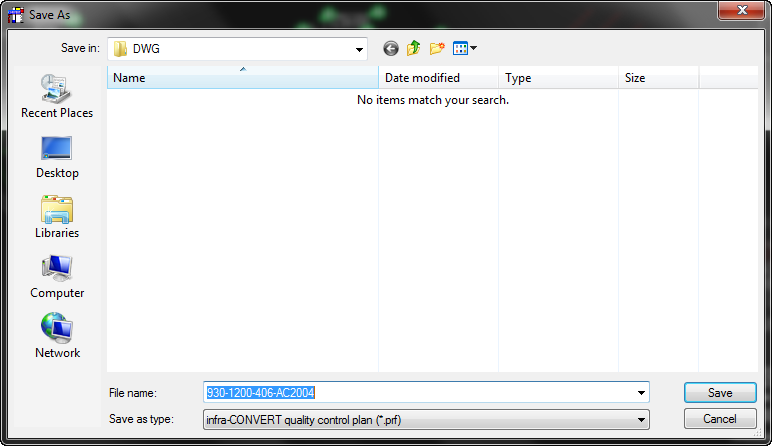
Select a name and format (see ⇒ Supported quality control plan formats) for test plan and press “Save”.
Tip: When you save the quality control plan, a *.icp format file is also saved in the same directory. This is an infra-CONVERT project file that you need to re-load and edit the plan at a later date. You should not delete this file.