Installation for floating licences
Introduction
ELIAS GmbH delivers the infra - CONVERT software with a USB WibuKey dongle for licence administration. The dongle contains information about the type and number of infra - CONVERT licences purchased. There are two types of licence administration:
- Standard licence
A dongle is provided for every licence and always has to be connected to the PC before you can run infra - CONVERT. - Floating Licence
In this case, only one dongle is provided on which the maximum number of licences is saved. The dongle has to be installed on a central PC which can be accessed by other work stations via a network. This “central” PC is hereafter referred to as the dongle server.
Tip: Always install the dongle drivers before you connect the dongle to the PC..
Installing dongle drivers
Start “WkRuntime.exe”, found in “WIBUKey Setup” on the CD or download it here:
Tip: You need administrator rights for the PC for this task.
- The setp-up routine for the dongle will then start:
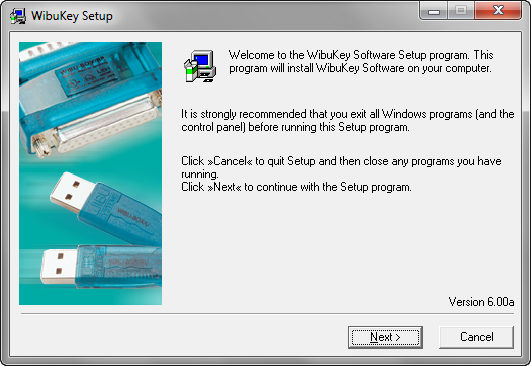
- Confirm by clicking “Next >”:
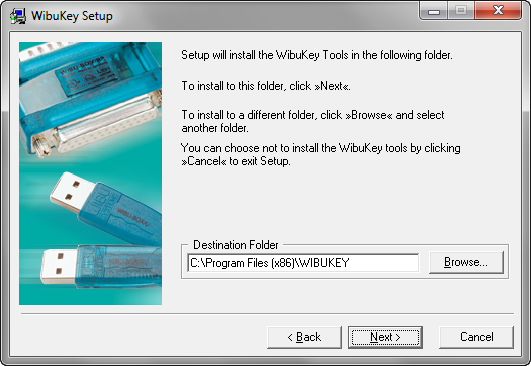
 * In this window you select the installation path. We recommend keeping the standard target directory.
Confirm your selection with “Next >”:
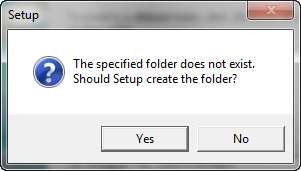
- If the directory does not exists you will asked if you want to create it. Confirm by clicking on “Yes”:
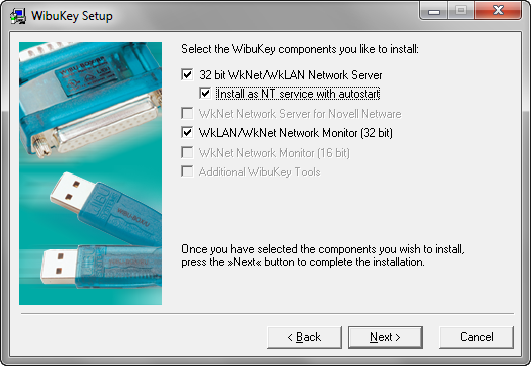
- Tick the “Install as NT service with autostart“ option in this window. Also make sure “32 Bit WkNet/WkLAN Network Server” and “WKLAN/WkNet Network Monitor (32 bit)”are activated.
Confirm with “Next >”:

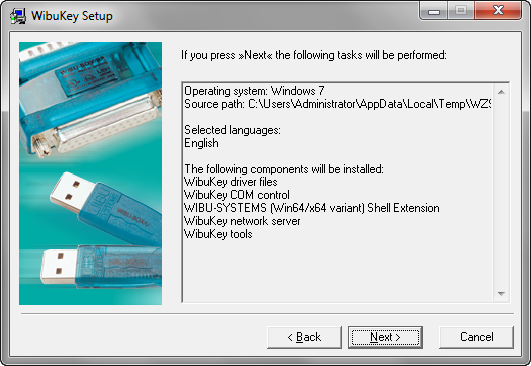
- The programme will ask you once more if all the options have been selected.
Confirm with “Next >”:
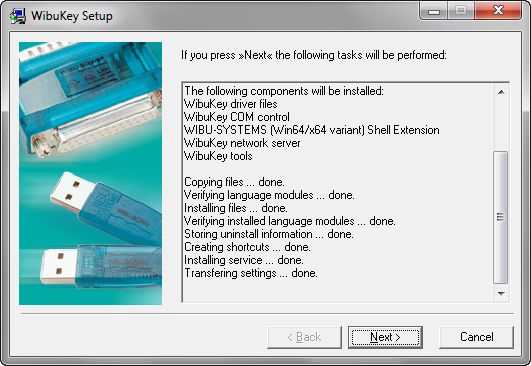
- The programme provides information on installation progress. After all the data has been installed, confirm with “Next >”:
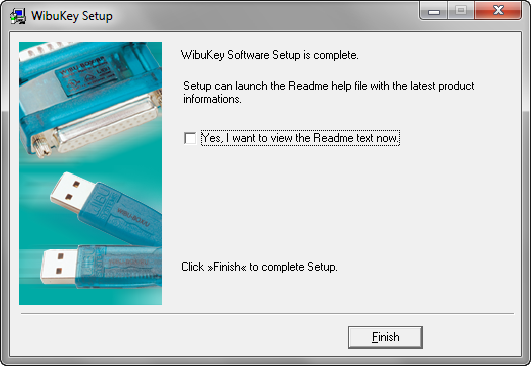
- Installation is finished. Confirm with “Finish”:
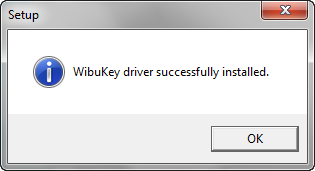
- The programme will then confirm once again that the drivers have been successfully installed. Confirm with “OK”.
Installing the dongle
Once the drivers have been successfully installed the dongle can be connected to a free USB socket on the PC.
Tip: The following sequence of screen shots and steps are based on a PC running Windows XP. Other Windows OS versions may appear different or even be absent.
Once you have connected the dongle to the PC, Windows should automatically recognize the new hardware. In some cases, an operating system window appears offering support installing the hardware (e.g. Windows XP):
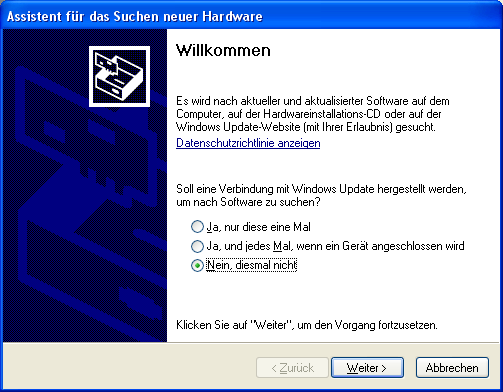
- In this window select “No, not this time”, as the software is already installed on the PC.
Confirm with “Next >”:
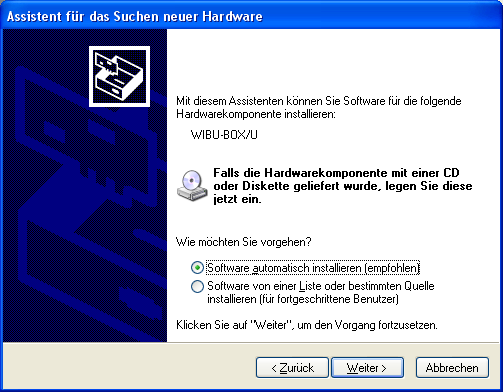
- Select “Install software automatically” in the second window and confirm with “Next >”:
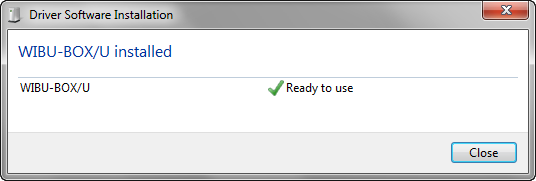
- Windows installs the drivers for the hardware and display the window shown above. Click on “Close” to complete installation.
Starting the network services for the dongle
The network services have to be started to allow access to the dongle from other work stations The is done in two possible ways:
- Variant 1:
The service starts automatically when the PC restarted. We recommended restarting after installation of the software and hardware. - Variant 2:
If the PC is not restarted after installation because it is needed as server for other applications, network services can be started manually:
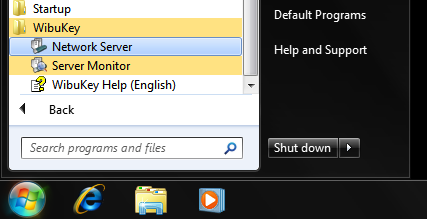
Start the “Network Server” from Start menu point “All programmes – WIBU-KEY” Start”. A new icon for the “Wibu Key Network Server” should appear in the icon bar next to the clock icon. Installation of the dongle is complete and you can start installing infra - CONVERT on the individual work stations.
Installing infra - CONVERT on individual work places
Insert the CD in your PC’s disk drive. The programme for installing infra - CONVERT will start automatically. Alternatively you can install the programme by starting the “Setup.exe” on the CD’s main directory.
In some cases “Microsoft .NET Framework 2.0” needs to be installed and “Windows Installer” updated before infra – CONVERT is installed. Follow the instructions provided by the installation assistant.
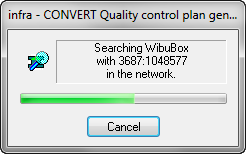
After successful installation infra - CONVERT can be started. The programme first looks for the dongle on the local PC and then in the network. If no dongle is found, or all the licences on the dongle are occupied, an error message appears. During the search for the dongle, this windows appears:
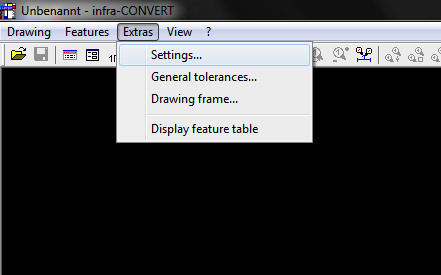
Always connecting the dongle to single specific PC in the network can significantly reduce the search time, as the name or IP address of the dongle server is configured in infra - CONVERT. Start infra - CONVERT and select “Options…” in the Extras menu “Options …”
This opens the configuration dialogue in infra - CONVERT. On the left-hand side is list of individual categories. If you select “Licence admin” from “General” the following options page opens:
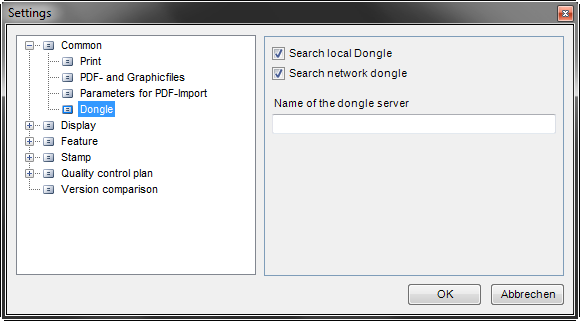
Using the two selection fields you can decided where to search for the dongle (local and / or network). You can enter either the name of the dongle server (e.g. SERVERNAME) or the TCP/IP address (e.g. 127.0.0.1).
This setting can be accessed via an editor by typing
- %programdata%\ELIAS GmbH\infra-Convert\
into the file explorer address field (Windows 7 / 8 / 8.1). Open the file infra-CONVERT.xml and search for the line:
- <Setting key=„DongleServer“ value=““ />
Enter the IP or name of your server behind value= within the quotation marks:
- <Setting key=„DongleServer“ value=„IP of your server“ />